Set Up ESLint + Prettier + Husky in Angular v20 (In Minutes)
Keeping your code clean, consistent, and error-free is no longer optional, it's essential. If you’re working with Angular v20, this quick guide will help you integrate ESLint, Prettier, and Husky to enforce quality from the very first commit.
Tools You’ll Be Using
- Angular CLI – Angular’s command-line tool
- ESLint – Linter to catch errors and enforce code standards
- Prettier – Code formatter for consistent style
- Husky – Tool to automate tasks on Git hooks (e.g., before commits)
Section Preview

Step 1: Set Up ESLint
Install ESLint in your Angular project:
ng add @angular-eslint/schematicsThis command will:
- Install ESLint and generate an
eslint.config.jsfile - Add a
lintscript to yourpackage.json - Configure Angular CLI to use ESLint schematics
Step 2: Integrate Prettier
Install Prettier and its ESLint plugins:
npm install --save-dev prettier eslint-config-prettier eslint-plugin-prettierUpdate your eslint.config.js to include Prettier:
import js from "@eslint/js";
import globals from "globals";
import tseslint from "typescript-eslint";
import angular from "angular-eslint";
import prettier from "eslint-plugin-prettier";
import prettierConfig from "eslint-config-prettier";

export default tseslint.config(
  {
    files: ["**/*.ts"],
    extends: [
      js.configs.recommended,
      ...tseslint.configs.recommended,
      ...tseslint.configs.stylistic,
      ...angular.configs.tsRecommended,
      prettierConfig,
    ],
    processor: angular.processInlineTemplates,
    languageOptions: {
      globals: {
        ...globals.browser,
      },
    },
    plugins: {
      prettier,
    },
    rules: {
      "@angular-eslint/directive-selector": [
        "error",
        {
          type: "attribute",
          prefix: "app",
          style: "camelCase",
        },
      ],
      "@angular-eslint/component-selector": [
        "error",
        {
          type: "element",
          prefix: "app",
          style: "kebab-case",
        },
      ],
      "prettier/prettier": "error",
    },
  },
  {
    files: ["**/*.html"],
    extends: [
      ...angular.configs.templateRecommended,
      ...angular.configs.templateAccessibility,
    ],
    rules: {},
  }
);
Add a formatting script in your package.json:
"scripts": {
  "format": "prettier --write ."
}
Create a .prettierrc.json config file:
{
  "tabWidth": 2,
  "singleQuote": true,
  "semi": true,
  "arrowParens": "avoid",
  "trailingComma": "es5",
  "printWidth": 120
}
Step 3: Automate with Husky
Install and initialize Husky:
npm install --save-dev husky
npx husky init
This will create the .husky directory and configure the prepare script in your package.json.
Now set up a pre-commit hook:
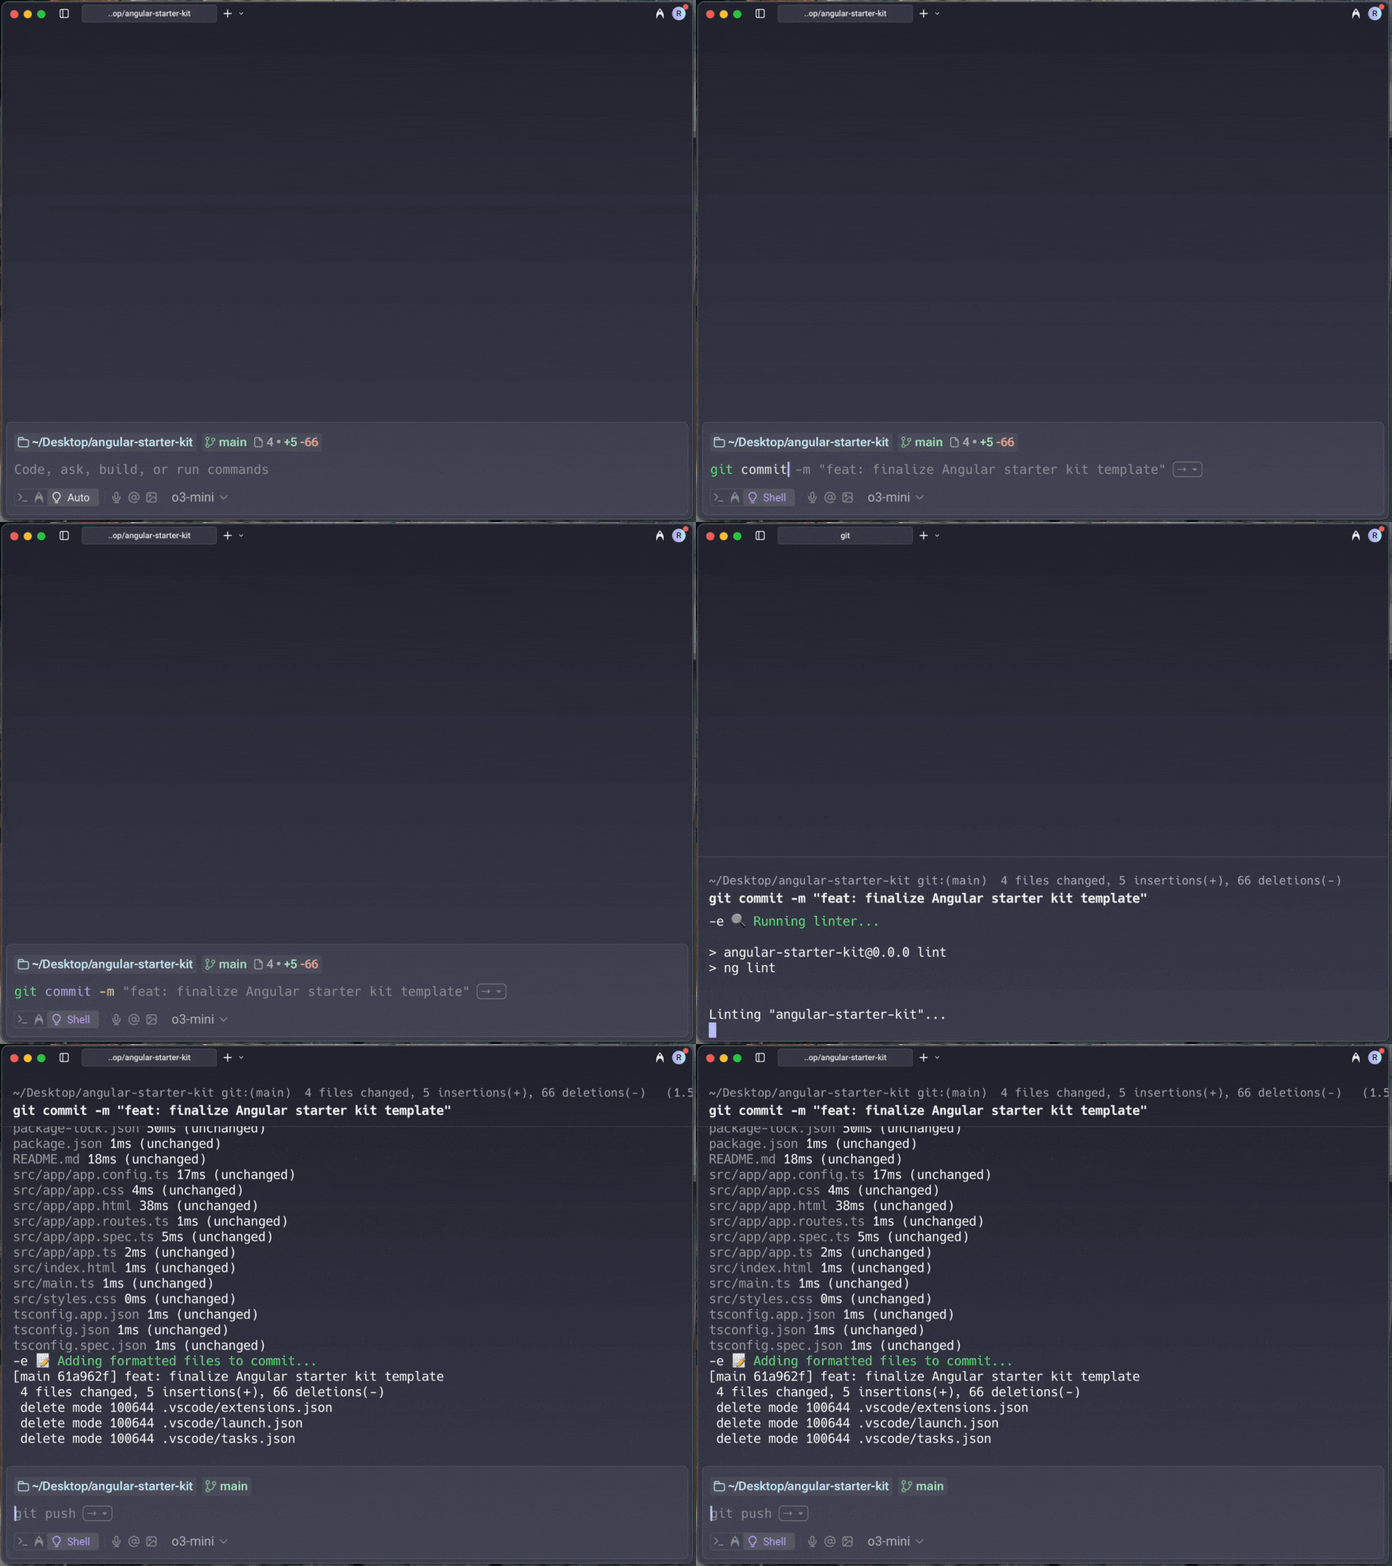
echo "npm run lint && npm run format" > .husky/pre-commitFinal Check
Run the following commands to make sure everything’s working:
# Check linting
npm run lint

# Check formatting
npm run format

# Test pre-commit hook
git add .
git commit -m "test: verify setup"
Result ✅
Done! Now every time you make a commit:
- ✅ ESLint will catch coding errors
- ✅ Prettier will automatically format your code
- ✅ Husky will block commits with lint or format issues
Your team gets clean, consistent, production-ready code from day one. All set up in just a few minutes!